Uplift Rebuild Part 7 – Making top armour and hinged front forks
23rd June 2024
Now the lifting arm is in place I can make the top armour panel. Like the baseplate this will be a sheet of 10mm HDPE, but cut into a square “U” shape to fit around the lifter.
For ease and speed I really wanted to cut this out on my CNC router, so I measured the not-quite-square hand made frame as best I could and sketched the top panel out as accurately as possible in Fusion 360 (28.63mm width anyone?).
The lid fits reasonable well, it overhangs the right edge a bit more at the front than the back but not enough to be very noticeable. The slightly imperfect fit is worth the trade off for being able to easily reproduce an exact copy if this first one gets damaged though.
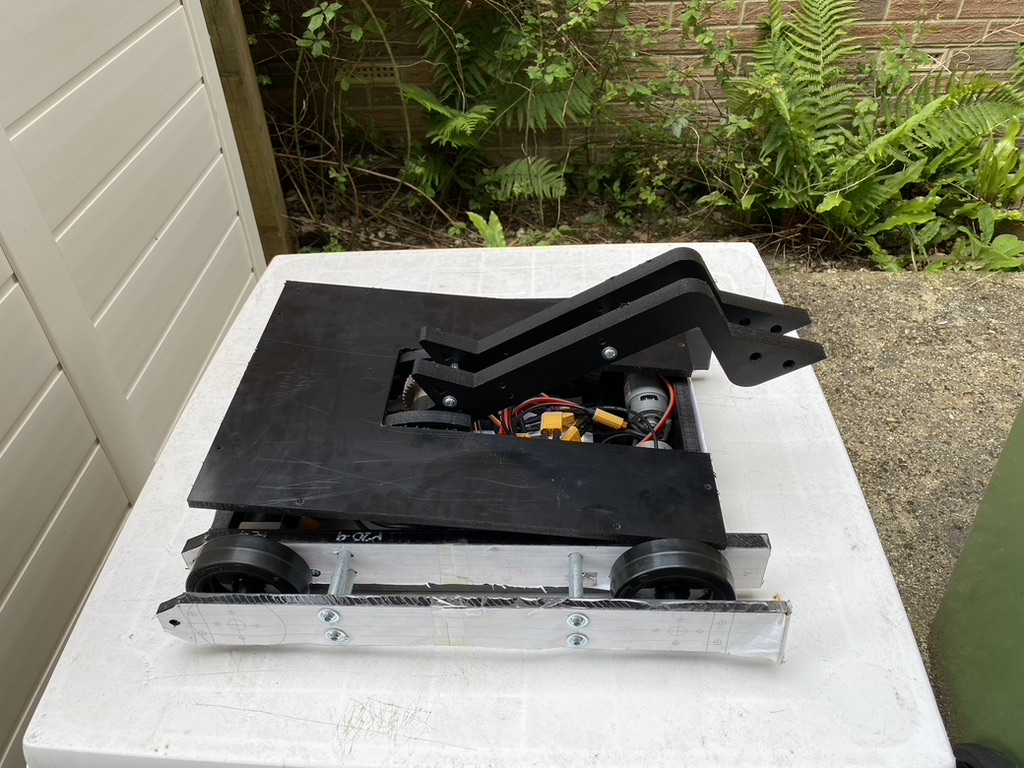
I did however make a small error not adding cutouts for the ends of the shoulder bolt used for the lifter hinge to pass through. I was hoping the 10mm panel would squeeze/slide between the bolt head and the lifter motor but it’s a couple of millimetres too thick.
I’ll add some cutouts to the CAD model for next time but for now I roughly hand cut some out using my Dremel. They aren’t pretty but do mean the lid can at least be taken on and off without first removing the whole lifting arm!
At some point I may get brave enough to attempt to CNC a new baseplate too, but as most attacks will come from overhead I’m less concerned about that taking serious, irreparable damage.
To finish the top armour off, I cut out a smaller panel out of 5mm HDPE to fill over the front gap in the “U” shape.
This piece is bolted into the frame at the front and some small ledges on the front edge of the lifter supports. Ideally this would be 10mm as well, but the lifter arm comes down too far so there isn’t enough vertical space for that. Next time!
While I had the CNC machine ready, I decided it was also time to cut out some little hinge pieces, upon which I can attach some front forks. The forks will help Uplift get underneath opponents but just as importantly deflect some of the impacts and shocks away from the lifter arm, hopefully protecting the gearbox.
The hinges themselves are pretty simple – just two pieces of 15mm HDPE supporting a 10mm diameter, 50mm long steel shoulder bolt:
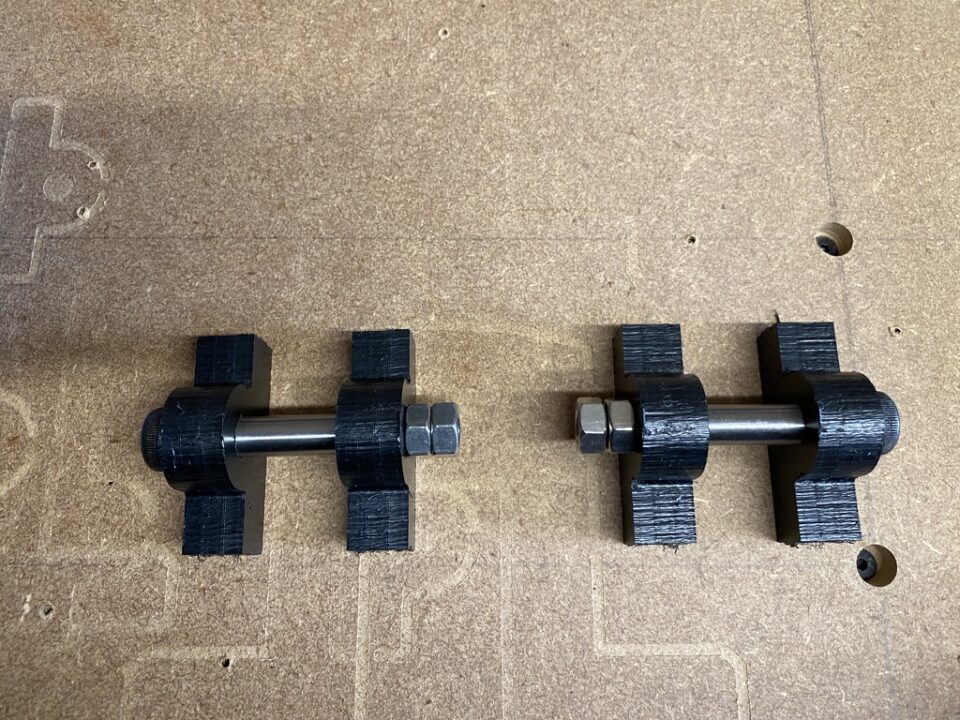
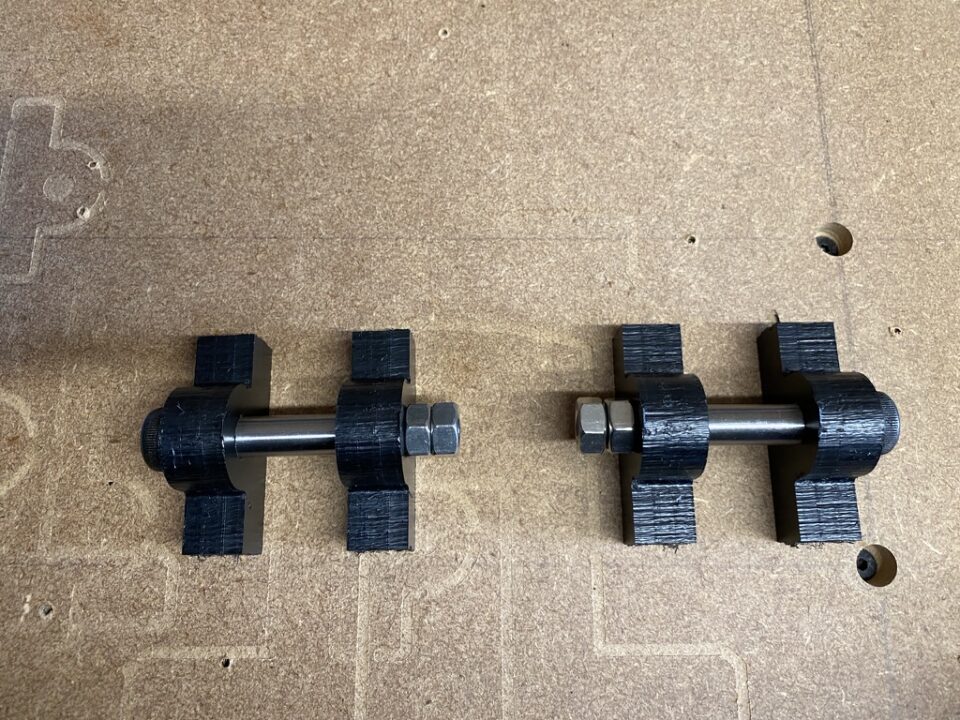
These then bolt onto the front of the frame. Drilling the mounting holes for these turned out to be quite the operation, as they were surprisingly difficult to clamp into my drill press in secure way.
I got there eventually though, and with the help of some handy grippers got the matching holes drilled into the front frame panel too:
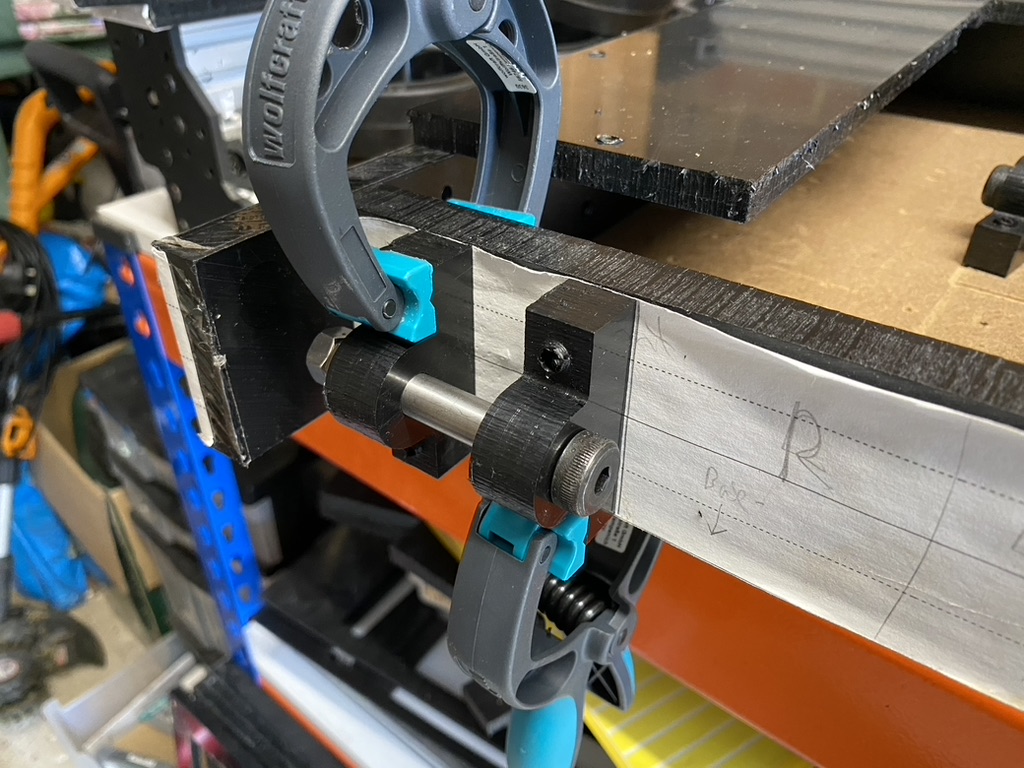
In order to do this I had to completely dissemble the robot, so it was a relief to get everything back together and see that the fork mounts were going to work out OK!
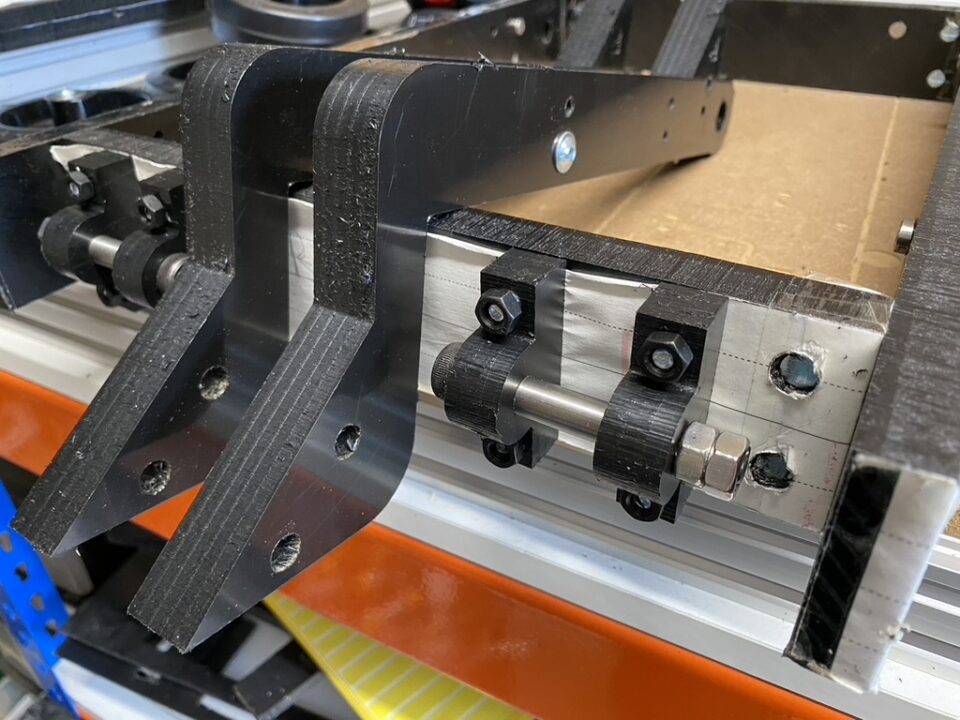
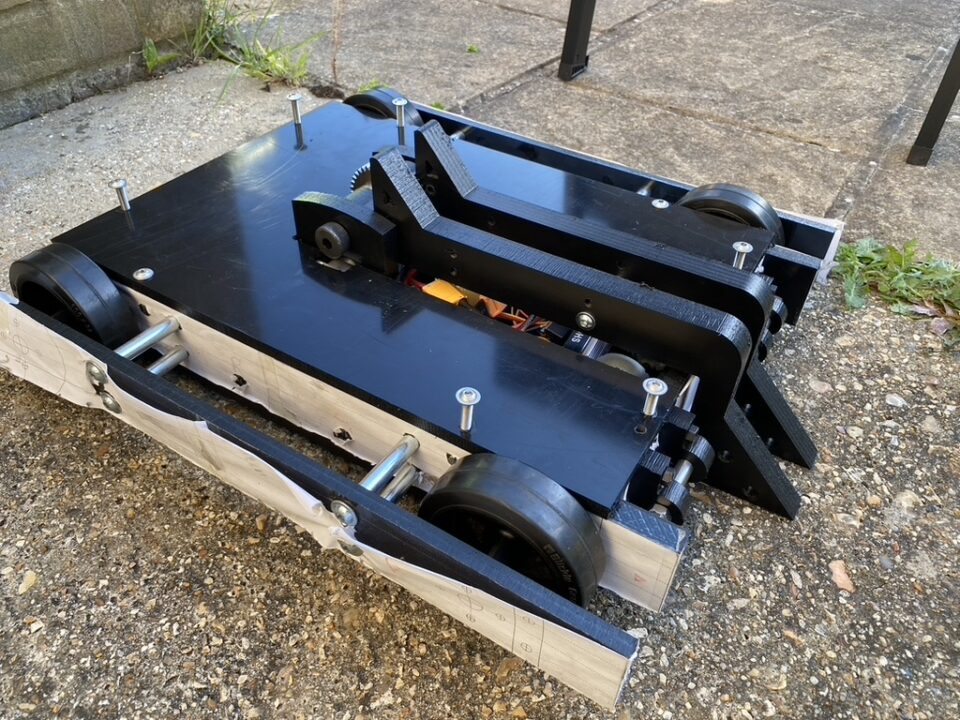
The next job was to make the forks themselves – I’d put this off until I knew where exactly the mounts were going to sit on the robot, so that I could get the dimensions of the forks exactly right.
I cut the forks out of 20mm thick HDPE, with a 10.4mm diameter mounting hole. This makes them secure enough that they don’t wobble from side to side, while being able to rotate up and down freely when on the 10mm shoulder bolts. Hopefully they’ll be able to ride over uneven parts of the arena while still maintaining contact with the floor.
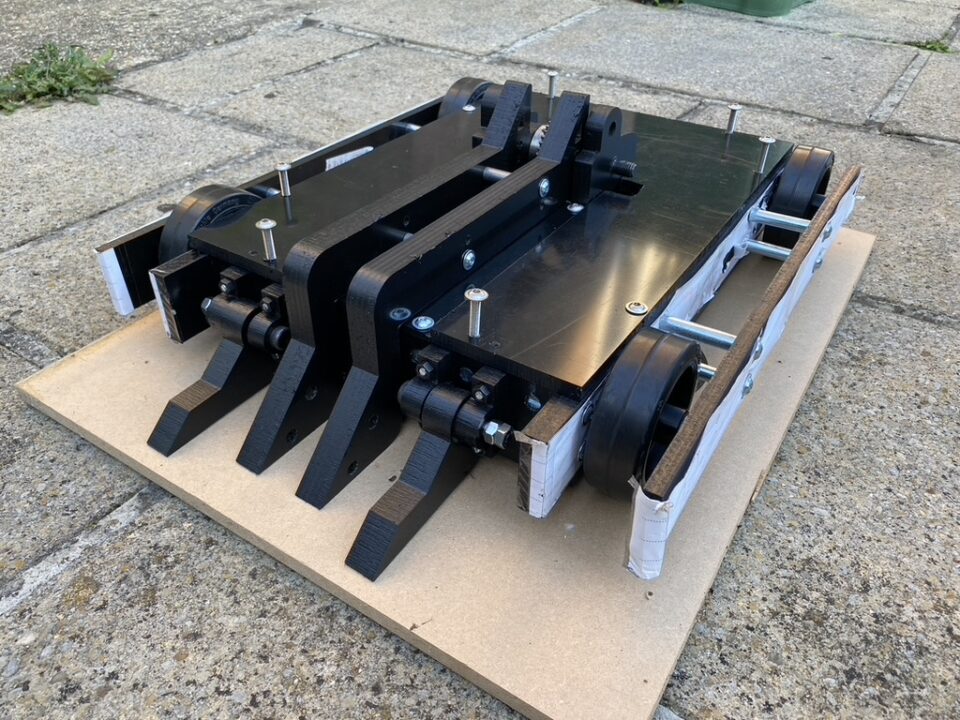
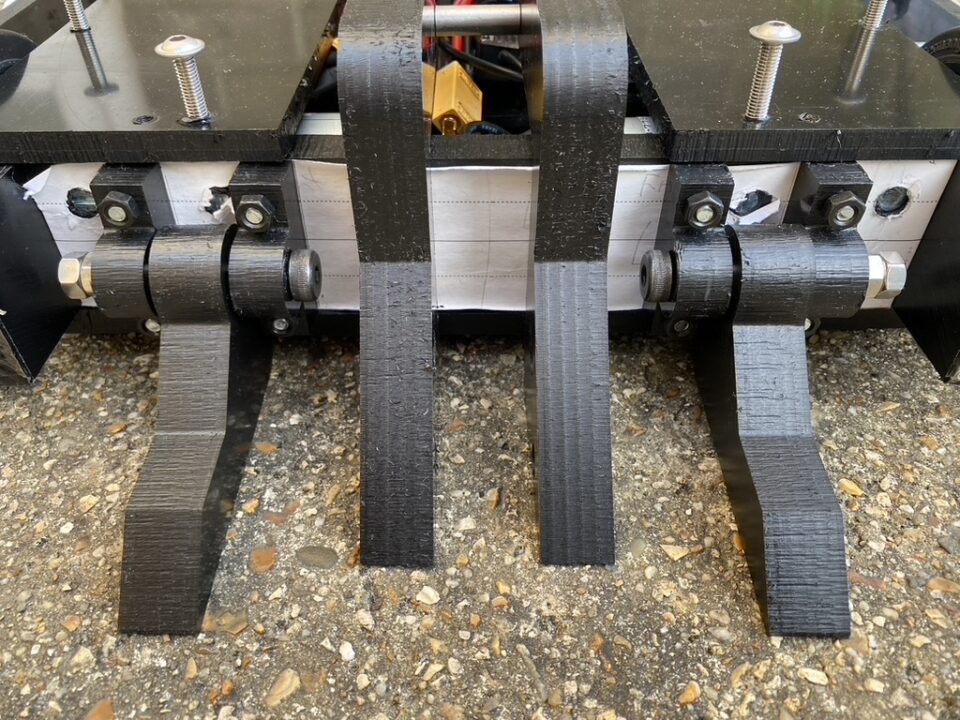
As you can see, Uplift is really starting to come together now. I think the first test drive might fast be approaching…
